Introduction
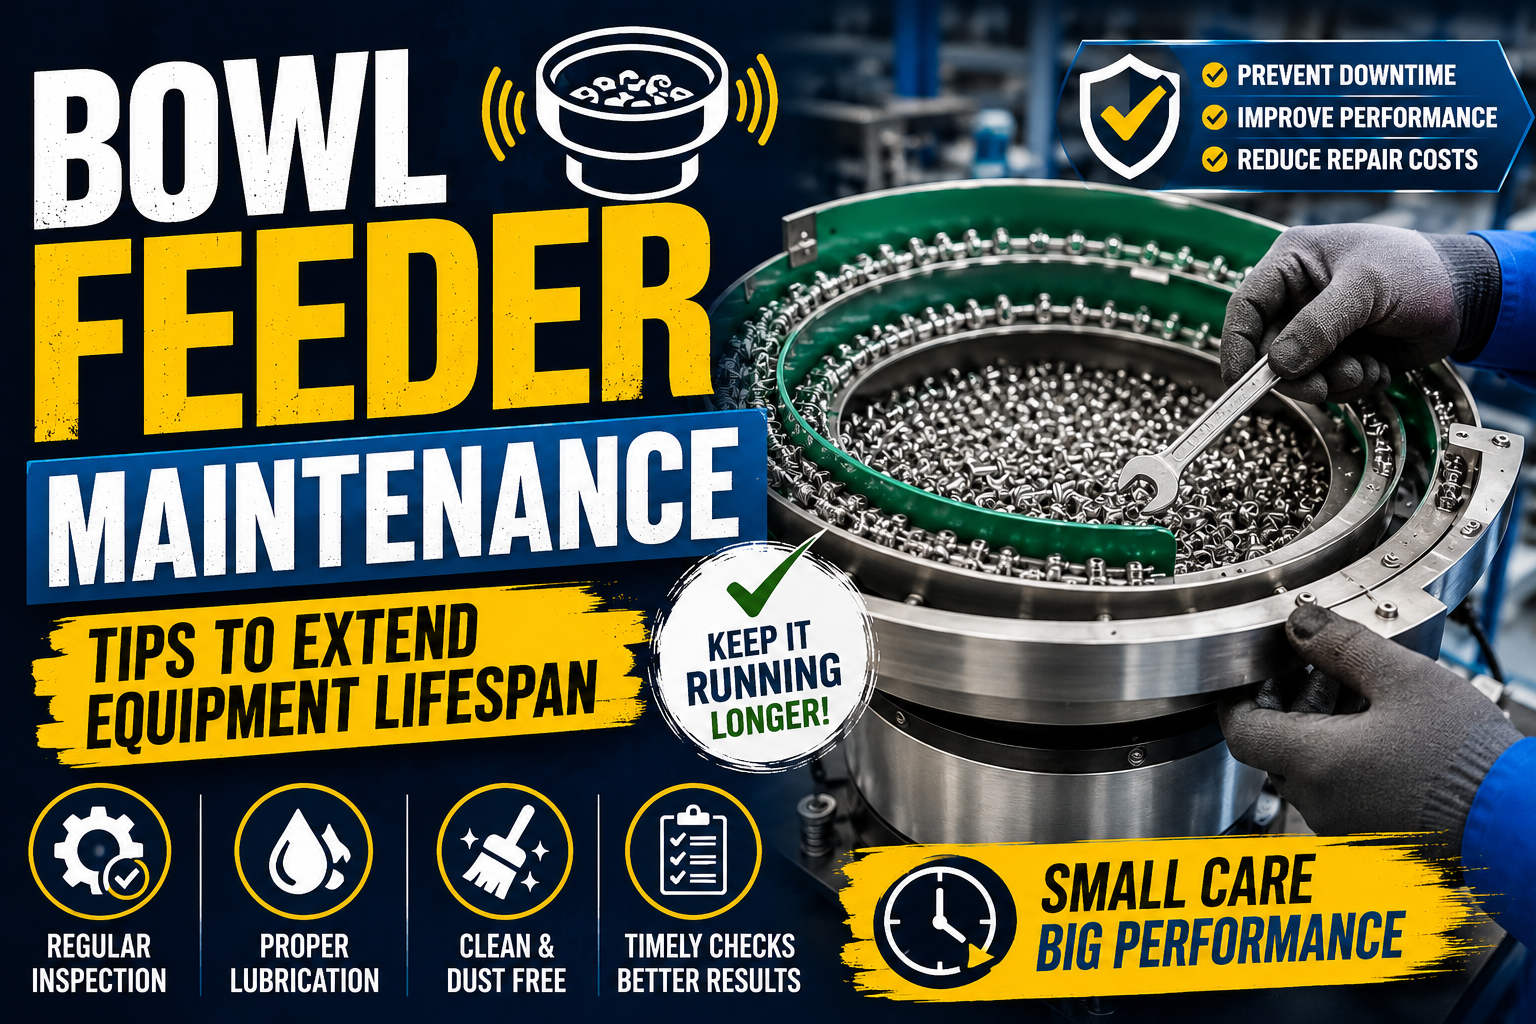
Bowl feeders are critical components in modern industrial automation systems, responsible for orienting and feeding parts to assembly lines, production equipment, and manufacturing stations. Whether you’re managing a small-scale operation or a large manufacturing facility, proper bowl feeder maintenance is crucial for maintaining consistent production rates and preventing costly equipment failures.
Regular maintenance not only extends the lifespan of your bowl feeder equipment but also improves reliability, reduces unplanned downtime, and ultimately protects your operational efficiency and profitability. In this comprehensive guide, we’ll explore everything you need to know about bowl feeder maintenance, from daily checks to long-term care strategies.
Table of Contents
- Understanding Bowl Feeders
- Why Bowl Feeder Maintenance Matters
- Daily Maintenance Checklist
- Weekly and Monthly Maintenance Tasks
- Seasonal Deep Maintenance
- Common Bowl Feeder Issues and Solutions
- Best Practices for Extended Equipment Lifespan
- Troubleshooting Guide
- FAQ
- Conclusion
Understanding Bowl Feeders
What Is a Bowl Feeder?
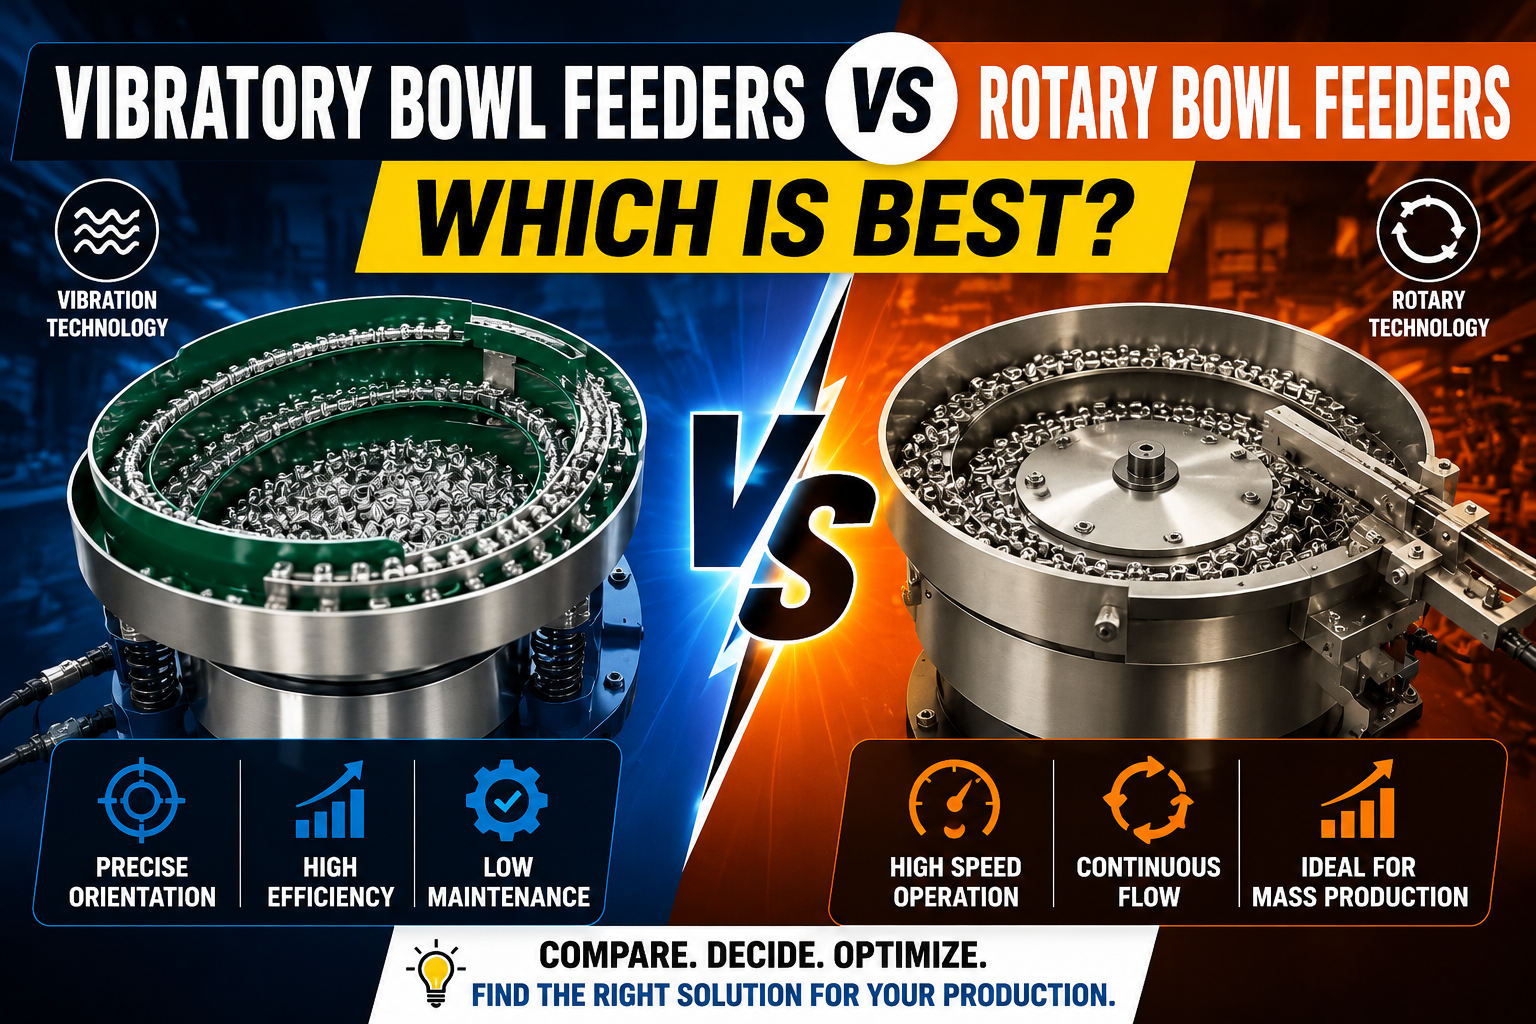
A bowl feeder, also known as a parts feeder or vibratory bowl feeder, is an automated system designed to orient, separate, and feed individual components to downstream equipment in manufacturing and assembly operations. These systems use vibratory motion to move parts through a helical track, positioning them correctly for further processing.
Key Components of a Bowl Feeder System
Understanding the main components helps you maintain your equipment more effectively:
- Vibratory Bowl: The main container holding the parts to be fed
- Drive System: Electric motor and vibration mechanism that creates movement
- Track and Rails: Guide parts through the feeder system
- Sensors: Detect part presence and position
- Control Panel: Manages operation and settings
- Support Structure: Provides stability and reduces vibration transfer
Why Bowl Feeder Maintenance Matters
Impact on Production Efficiency
Regular bowl feeder maintenance directly affects your production line’s performance. Well-maintained feeders ensure:
- Consistent part feeding without jamming or misalignment
- Predictable cycle times that keep your production schedule on track
- Reduced quality issues caused by improperly oriented parts
- Lower defect rates in downstream assembly or packaging
Financial Implications
The cost of preventive maintenance is significantly lower than that of reactive repairs. Consider these financial benefits:
Preventive Maintenance Benefits:
- Extends equipment lifespan by 30-50%
- Reduces emergency repair costs by 40-60%
- Minimizes unplanned production downtime
- Prevents cascading failures that damage connected equipment
- Improves overall equipment effectiveness (OEE)
Regulatory Compliance
Many industries require documented maintenance records for compliance purposes. Proper maintenance documentation demonstrates:
- Adherence to equipment manufacturer guidelines
- Commitment to workplace safety standards
- Quality management system compliance
- Equipment reliability for audit purposes
Daily Maintenance Checklist
Morning Pre-Operation Checks
Begin each shift with these essential checks:
Visual Inspection
- Examine the bowl and track for cracks, chips, or visible damage
- Check for loose bolts, fasteners, or components
- Look for accumulation of dust, dirt, or particle debris
- Verify no foreign objects are in the feeder system
Operational Tests
- Start the feeder and listen for unusual noises (grinding, squealing, rattling)
- Observe the vibration pattern—it should be smooth and consistent
- Test part flow to ensure proper orientation and feeding
- Verify sensor functionality if equipped with detection systems
- Check the control panel displays and indicator lights for normal operation
Cleanliness Maintenance
- Remove any dust or small debris from the bowl surface
- Clear the feed track of any accumulated particles
- Wipe down exterior surfaces to monitor for leaks or spills
- Clean the discharge area to ensure smooth part ejection
End-of-Shift Procedures
- Reduce feeder speed gradually to avoid jarring stops
- Allow equipment to come to a complete stop before stopping the motor
- Perform a quick visual inspection for any new signs of damage
- Note any operational irregularities for the maintenance team
Weekly and Monthly Maintenance Tasks
Weekly Maintenance (Every 5-7 Days)
Lubrication Review
- Check oil levels in bearing housings (if applicable)
- Inspect for any oil leaks around seals or connections
- Wipe up any spilled oil immediately to prevent dust accumulation
- Note any changes in lubricant color or consistency
Component Inspection
- Inspect the vibratory system for signs of wear
- Check springs and suspension components for cracks
- Verify all electrical connections are secure and corrosion-free
- Test emergency stop buttons and safety switches
Cleanliness Deep Clean
- Use compressed air to blow out dust from motor vents (if air-cooled)
- Clean feeder tracks thoroughly with appropriate cleaning agents
- Remove buildup of material residue from the bowl interior
- Clean the control panel area to prevent dust infiltration
Monthly Maintenance (Every 25-30 Days)
Mechanical Components
- Tighten all bolts and fasteners with appropriate torque specifications
- Lubricate pivot points and moving joints with the recommended lubricant
- Check bearing temperature if accessible (should be within normal range)
- Inspect vibratory motor mounting bolts—vibration can loosen them over time
Electrical Systems
- Check all electrical connections for corrosion or oxidation
- Verify voltage levels match equipment specifications
- Test all limit switches and proximity sensors
- Inspect power cables for damage, cuts, or signs of wear
Performance Metrics
- Record feeder speed and vibration frequency
- Document the part feeding rate and accuracy
- Note any performance degradation compared to baseline
- Measure and log current consumption (higher current may indicate resistance)
Seasonal Deep Maintenance
Quarterly Deep Maintenance (Every 3 Months)
Major Component Inspection
- Remove and inspect the vibratory bowl for internal cracks
- Check bowl geometry—distortion can cause feeding problems
- Examine springs for fatigue or permanent deformation
- Inspect all bearings for noise or resistance when manually rotated
Drive System Inspection
- Check motor brush wear (if a DC motor with brushes)
- Verify electromagnetic coil integrity
- Inspect the coupling alignment between the motor and the feeder drive
- Review coolant condition if the equipment is liquid-cooled
Preventive Replacement
- Replace oil if your feeder uses bearing lubrication
- Consider replacing air filters on cooled motors
- Update grease in specified lubrication points
- Replace any worn gaskets or seals showing deterioration
Annual Comprehensive Maintenance
Professional Inspection
- Engage a qualified technician for a comprehensive system evaluation
- Perform vibration analysis to detect early bearing damage
- Use thermal imaging to identify hot spots or electrical issues
- Conduct electromagnetic coil resistance testing
Major Service Tasks
- Replace all filters and consumables
- Perform a complete system flush and re-lubrication
- Rebuild or replace worn bearing assemblies
- Update or repair any electronic control components
Baseline Documentation
- Establish new performance baselines
- Update equipment specifications and service records
- Photograph the current condition for trend analysis
- Review and update maintenance procedures if needed
Common Bowl Feeder Issues and Solutions
Issue 1: Part Jamming and Misalignment
Symptoms:
- Parts stuck in the feed track
- Irregular feeding patterns
- Frequent production line stoppages
- Manual intervention required during shifts
Causes:
- Worn or damaged track surfaces
- Incorrect vibration frequency or amplitude
- Part geometry changes
- Foreign material in the feeder
Solutions:
- Clean the entire feed track and bowl thoroughly
- Adjust vibration settings according to the manufacturer’s specifications
- Inspect track geometry with a straightedge—replace if damaged
- Verify that part specifications haven’t changed
- Install part change-over kits if processing different components
Issue 2: Unusual Vibration or Noise
Symptoms:
- Grinding or squealing sounds
- Excessive vibration transfer to surrounding equipment
- Rattling from the feeder area
- Visible movement of the feeder structure
Causes:
- Loose bolts or fasteners
- Bearing wear or degradation
- Motor imbalance
- Spring fatigue or failure
Solutions:
- Systematically check and tighten all mechanical fasteners
- Inspect and replace worn bearings
- Check motor balance—replace if damaged
- Examine and replace springs if deformed
- Use vibration-dampening feet if vibration transmission is excessive
Issue 3: Reduced Feeding Speed or Capacity
Symptoms:
- Parts move more slowly through the feeder
- Reduced output rate
- Inconsistent feeding pattern
- Increased backpressure visible in the bowl
Causes:
- Motor wear or loss of power
- Increased friction from wear
- Bearing resistance
- Power supply voltage variations
Solutions:
- Verify electrical supply voltage and frequency
- Check motor amperage draw—compare to baseline
- Lubricate pivot points and moving surfaces
- Inspect and replace bearings if needed
- Clean internal surfaces to reduce friction
Issue 4: Electrical Failures and Control Issues
Symptoms:
- Loss of power to the feeder
- Sensors not detecting parts
- Control panel display malfunctions
- Intermittent operation
Causes:
- Loose electrical connections
- Corroded terminals
- Faulty sensors or switches
- Power supply problems
Solutions:
- Inspect all electrical connections—clean and tighten.
- Check sensor alignment and lens cleanliness
- Test the control panel operation with diagnostic tools
- Verify the consistent power supply voltage
- Replace faulty sensors or control components
Best Practices for Extended Equipment Lifespan
1. Establish a Preventive Maintenance Schedule
Create a documented maintenance schedule that includes:
- Daily: Pre-operation and end-of-shift checks
- Weekly: Lubrication and component review
- Monthly: Detailed mechanical and electrical inspection
- Quarterly: Deep maintenance and major component inspection
- Annually: Professional comprehensive service
Post this schedule visibly and track completion with maintenance logs.
2. Use Manufacturer-Recommended Lubricants
- Always use the specific lubricant recommended by your feeder manufacturer
- Different lubricants have different viscosities and properties
- The wrong lubricant choice can cause overheating or inadequate protection
- Keep detailed records of lubricant type and application dates
3. Monitor Performance Metrics
Establish baseline performance measurements:
- Feeder cycle time and feeding rate
- Electrical current consumption
- Vibration frequency and amplitude
- Temperature readings
- Part accuracy and orientation
Track these metrics over time to identify performance degradation early.
4. Implement a Spare Parts Strategy
- Maintain an inventory of commonly replaced items (springs, bearings, belts)
- Stock parts that have longer lead times
- Document part numbers and specifications
- Build relationships with parts suppliers for rapid delivery
5. Train Your Team
- Ensure all operators understand basic maintenance procedures
- Provide training on early warning signs of equipment problems
- Create a culture where operators report issues immediately
- Document maintenance knowledge transfer for new team members
6. Keep Detailed Records
- Maintain a maintenance log for each feeder
- Document all services, repairs, and parts replacements
- Record performance metrics and observations
- Use records to identify patterns and predict maintenance needs
7. Plan for Part Changeovers
- When feeding different parts, recalibrate the feeder
- Adjust vibration settings for new part geometry
- Clean the bowl and track between major changeovers
- Document optimal settings for each part type
Troubleshooting Guide
Quick Diagnostic Flowchart
Feeder Not Operating
- Check power supply—verify voltage and connections
- Test control panel indicators
- Check emergency stop/safety switches
- Verify motor terminals for proper connection
- Test motor rotation when powered
Parts Not Feeding
- Verify the bowl contains sufficient parts
- Check for jams in the feed track
- Confirm vibration is occurring
- Adjust vibration frequency/amplitude settings
- Inspect bowl geometry for damage
Slow or Inconsistent Feeding
- Check and adjust vibration settings
- Clean the entire feed track and bowl
- Verify proper part orientation
- Check for partial jams or blockages
- Measure motor current draw—compare to baseline
Excessive Noise or Vibration
- Check all bolts and fasteners—tighten if loose
- Verify motor mounting security
- Inspect springs for damage
- Check bearing condition
- Verify vibration is appropriate for the feeder size
Electrical Component Failures
- Check all electrical connections
- Clean corroded terminals
- Test sensor functionality and alignment
- Verify the control panel power supply
- Check for burnt components or damage
Frequently Asked Questions
How often should I replace bearings in my bowl feeder?
Bearing lifespan depends on operating conditions, load, and lubrication. Generally, well-maintained bearings last 3-5 years. Regular vibration analysis helps predict bearing failure before it occurs. Replace bearings that show noise, increased resistance, or elevated temperature.
What’s the best way to clean a bowl feeder without causing damage?
Use soft-bristled brushes to remove debris from the bowl interior. For track cleaning, use mild cleaning agents and avoid harsh chemicals that could damage seals. Never use high-pressure water jets on electrical components. Air drying is preferred over wiping to avoid lint accumulation.
Can I use general-purpose lubricants in my bowl feeder?
No. Always use the lubricant specified by your equipment manufacturer. Different feeders have different requirements based on operating speed, temperature, and bearing type. Using the wrong lubricant can cause overheating, inadequate protection, or compatibility issues with seals and gaskets.
How do I know when to replace springs in my bowl feeder?
Springs should be replaced if they show permanent deformation, rust, or if the feeder’s vibration pattern changes noticeably. A spring that has permanently lost its shape won’t provide proper vibration characteristics. Annual inspection helps identify springs needing replacement.
What maintenance can operators perform versus professional technicians?
Operators can perform:
- Daily cleaning and visual inspections
- Simple bolt tightening
- Basic part jams clearing
- Lubricant level checks
- Performance observation and recording
Professional technicians should perform:
- Major mechanical work
- Bearing replacement
- Electrical system repairs
- Motor service
- Vibration analysis and diagnosis
Why is my bowl feeder consuming more electrical power than before?
Increased power consumption indicates increased resistance or friction. Causes include worn bearings, inadequate lubrication, part jam buildup, or motor overheating. Investigate immediately, as continued operation could cause motor failure. Check bearing condition, lubrication status, and for any obstructions.
How can I extend the bowl feeder’s lifespan in harsh industrial environments?
In dusty or chemically corrosive environments:
- Increase cleaning frequency
- Use sealed bearing assemblies
- Apply protective coatings to exposed metal surfaces
- Use stainless steel components when possible
- Install protective covers or enclosures
- Increase lubrication frequency
- Implement more frequent electrical connection maintenance
What’s the average lifespan of a well-maintained bowl feeder?
With proper preventive maintenance, industrial bowl feeders typically last 10-15 years. Some systems operate for 20+ years. Lifespan depends on operating hours, maintenance quality, and operating conditions. Well-documented maintenance can extend your equipment investment significantly.
Conclusion
Bowl feeder maintenance is not an expense—it’s an investment in your production efficiency, equipment reliability, and operational profitability. By implementing a systematic maintenance program that includes daily checks, regular cleaning, scheduled component replacement, and professional annual service, you can extend your equipment lifespan by decades.
The key to success is consistency. Establish maintenance procedures, document everything, train your team, and monitor performance metrics. Start with the daily checklist provided in this guide, gradually expand to monthly and quarterly tasks, and schedule annual professional service.
Remember: an ounce of prevention is worth a pound of cure. The small investment in preventive maintenance today will save you from costly emergency repairs and production downtime tomorrow.
Leave a Reply